Tuesday 31 August 2010

4 x 4 Mini album


This little 4 x 4" mini album is without  a doubt the most popular one that I have ever done. I really don't know why, if it is because of the colour scheme - given by Making Memories Flower Patch Collection - or because of the hidden folds and flaps.


The front pages of the album.


First of the two hidden elements. A pop up.


The second hidden element, and fold over mini album, so it is a mini album within a mini album.


That can be opened flat.


This is the back of the album. At both ends there is a little pocket made out of the patterned die cut paper.

Monday 30 August 2010

Die cutting + Distress inks = Perfect combination


Another Die cutting card. This time is the one that I taught at The Glitter Pot last week.  The distress inks create the perfect coloring for the Monarch Butterfly.
The blank card I used a large Tag from Sizzix and the Butterfly is one of the Tim Holtz dies. The message is from the Circle Essentials and then I layered it up with a Circle Tag. 
And I am off, I have loads off tiny works to do today.

Sunday 29 August 2010

Cardmaking and Papercraft

Yesterday I got in the post the subscribers issue of Cardmaking and Papercraft, issue 83, October, in which I have the article on the Patchwork technique. It is actually called Embossing on page 54, but it does have the step by step photos on how to create the Patchwork panel and how to emboss it and sand it. 


Also, if you register to the Cardmaking & Papercraft website you will be able to download one of my previous projects, a Kioshi bird card -Issue 79- on their website. You can download the pdf file here.


Regarding Gap cards, another top tip. Get and use one of these Fine Tip bottles here


I find that the most important thing with gap cards is actually the glue holding it together. A wet glue will always be stronger bond than a dry one -double sided tape, tape runner, glue dots, sticky dots... But wet glue is messy, that is why having this little bottle dispense tiny amounts -pin head size- is indispensable.


The Fine Tip bottle comes empty so you can fill it and refill it with your favorite PVA glue. Personally, I like Aleene's Tacky Glue:


Friday 27 August 2010

Questions and Answers


Hi! Love this card. Do you find that the cardstock used is thick enough to make the card base? I have some MME doublesided 12x12 cardstock and feel that it is not strong enough on it's own. Would be interested to know what you think. 
The ideal weight for Gap Cards, I would say, it is between 220gsm-240gsm, not too thin not to thick, if it is too thick or heavy then the elements will struggle to hold it together, if it is too thin then the whole card will be flimsy.  


Bazzill and Coredinations weight is around 220 gsm. Actually it is harder to make gap cards with heavy cardstock- anything over 270gsm. but it all depends also on the size of the card and the weight of the gap elements. My Minds Eye papers are not always the same weight.  


The weight of the My Minds Eye varies depending on collections. Some of them, such as Pretty Please, Bloom, Grow and Be Loved, are around 160 gsm give or take, and that is indeed too thin to make the blank card base. My favorite papers are from the Penny Lane Collection and the Quite Contrary as well as some old collections such as Wild Asparagus, all of which are much thicker, around 210-220gsm, and they are absolutely fine for those cards even the gear one which is 5 x 6" when finished. 


So, here you another sample of a Gap card using as base a Quite Contrary paper from MME. 


This time the Gap follows the pattern of the paper at an angle. The B is from the Serif essentials and the branches are from the Flowers, Branches and Leaves Sizzlits set. I would like to point out that die cuts as intricate as those branches are not a good idea for the Gap card unless they are just decorative, i.e. what holds the card together in this one is the monogram which is strong enough. The branches only reinforce the structure, on their own this card would not be possible.

Thursday 26 August 2010

Gap Card Workshop


Today I am off to the Glitter Pot to teach Gap cards in the morning and Distress ones in the afternoon. This one is one of the Gap ones. I love those Gears, a Sizzix die from the Tim Holtz collection.


So, I better go and get in the car!

Tuesday 24 August 2010


For the last spread on the front of the mini album I used an old foldin pop up -actually pop down- technique but added my own twist by punching round the edge with one set of Martha Stewart's Punch around the Page, the ones that I posted a few posts bellow.


And this is the back of the album. All in all, I was quite pleased with it. I know it's not perfect and could do with some improvements, but the main thing was to incorporate several techniques and elements so that the ladies who attended the calss would go home with different ideas.

Monday 23 August 2010

Mini album Proud


Finally I got round to taking photos of the new mini album I taught at the workshops at Dawn Bibby's shop. The photo above is of the front cover of the mini album. 


I decided on doing a patchwork piece for it and then I stamped a sentiment from the Mix and Match stamp set. As you know, the stamps were designed for cardmaking, but somehow this message works well for this mini album. After all, the other word for them is brag books!


You can see that the middle tag section is actually formed of quite a few of them.


Because when it opens it is actually a mini tag album within the mini album. Even more tags are hidden on the left page, as I like to make the most of my cardstock, on every page that has to be doubled up due to constructions reasons. For the whole book I used ten shipping tags.
In case you are wondering, this gorgeous young lady is my cousin Angela. Not only she is got the beauty but also the brains. She is about to start her sixth year at med school. I am so very proud of her, in a way, she is the little sister I always wanted to have and never had.


Tomorrow more photos. There is still another unexpected technique in this album.

Saturday 21 August 2010

More quick and easy


Meanwhile I am clearing and making minor alterations to my craft studio, I will share with you this card. I used Kioshi papers and embellishments which are from Basic Grey, you know I love Basic Grey. The message is from the Wording Stamps and the border is from Dotty Borders set.

Friday 20 August 2010

Craft Shopping


Green at Heart (Basic Grey) papers and Write a note embellishment. 


I always find that after I have been away or I have had visitors staying in the house it takes me about four days to go back to little work routines and be productive again. So by those calculations today should be productive, although I don't think I am.
Since I came back from Up North -that is what I call Lancashire as it is the only place up North that I go often-, I have been like a butterfly inside my house, doing a bit of this and a bit of that. I have accomplished minor things, paperwork mostly, but nothing grand. 

Recently, I have made some craft purchases. At Dawn Bibby Design Studio -also known as Topaz Crafts- I bought:


Yes, a pokey tool, I love the wooden handle on this one. I had a couple of them, but  at £1.50, it's always handy to have some extras.
A couple of Distress Ink pads to complete my stash and replace a very used one, actually I already had this colour, but I love it so much I could not resist putting the photo.


And the Tiny Attacher by Tim Holtz. I didn't think I wanted it until I used it for the first time, then I needed it. If you use staples to attach things onto projects, then you are going to love it, specially if you want to disguise the staples.

Then, yesterday doing my chart of nesting punches -circle and square, straight and scalloped- I realized I had some gaps, that is to say I didn't have all of them in all of the sizes available. And, that is not cool with my OCD. 

So I put an order through to SirStampalot at 16:30 hrs yesterday and I got the delivery today at 11:00! Brilliant service, great range of nesting punches and general stamps. And they do my stamps as well, so they get two thumbs up from me!
This are some of the punches I got from them:


Yes, the scalloped 1 1/4". As far as i know no one else makes it but EkSuccess, and Sir Stampalot seems to be the only shop in the UK to sell it online. It coordinates brilliantly with the Mixed Sentiments and Essential Circles.

The 3/4 x 1 1/4" (PSPNPOV004) oval works brilliantly with the oval on the Square Tags. It is not the same size of any of the Stampin Up ones, but will work on top of their scallop Oval. I also got the 1 1/4 x 2"(PSPNPOV003) oval.


I could not resist it. A rather large 2 3/3" punch that will really works well with the 3" circle scallop circle punch.

As you can see a lot of tools. But I always have found that money invested in tools -inks, stamps and punches ARE tools to me- is money well invested!

Wednesday 18 August 2010

Workshop Punches

This post is directed for the ladies who came to my workshops at Topaz last weekend, because it is just the list of punches that we used. For those who could not come, well this post has little interest, but I will post photos of the project once I get round to taking the pictures first.


If you are thinking of buy them, please consider first Dawn Bibby Design Studio -Topaz Crafts- as they were the hosts of the workshops or Personal Impressions Stockists, the UK distributors of both Martha Stewart and ekSuccess. By buying from them you support companies that support demonstrations and local workshops all around the country, without the local shops and UK distributors there would not be free demo days and very few workshops.

Tuesday 17 August 2010

Pause. Breathe.

I am not the busiest freelance paper crafter in the world, not by a long shot. but somehow, it always seems to happen all at once. Multiple deadlines to meet, loads of ideas to dot down...
So meanwhile I attend to them i leave you with another Basic Grey card.


from the Capella collection.

Monday 16 August 2010

A good weekend

I spent the last weekend up North, ie, in Lancashire, teaching at Dawn's shop. I really enjoyed the workshops as I was teaching how to make two mini albums, which are a passion of mine. Although I forgot to bring the camera to the class so no photos of the workshop, I do have some photos to share that I will upload later.

Friday 13 August 2010

Getting distracted by details


I don't know about you, but I do get distracted by the little details all the time. 
Say I am making a card. While going to fetch the 1 1/2 " circle punch I realized that the Versafine ink directly above it is missing so I go looking for it on my working table. And I find it a few minutes away by that time I have put the circle punch somewhere else so I need to spend sometime to find it. Once I do, what did I wanted for in the first place?
The little detail being organized. But it can be anything. All distracts me. I need to refocus.
Maybe simple cards like this one will help.


Paper: Basic Grey, Capella.
Canvas tag: Basic Grey, Capella.
Sentiment: My very own Square Essentials.

Thursday 12 August 2010

Changes

Pretty obvious changes to the layout. But I am not totally happy as now it looks really busy and I liked the clean, easy going, simple look of the old layout. The thing is though that now I have more control -in theory- so I can have different columns and stuff. Yet, certain things I could do with the old style I can not do with the new one. I shall wait and see if I warm up to this style.

Flower Burst


I have been a bit busy lately and I have forgotten to post about the Flower Burst article on Cardmaking and Papercraft this month. There is a step by step section on how to make the over the edge cards, which I think is always helpful if it is a new technique.

There are a few cards featured including the one bellow. The sentiment is from the Mix and Match stamp set.


Wednesday 11 August 2010

Wednesday Storage Ideas: Copics and Promarkers


Although some of you may have seen this before over at my Crafty Storage blog, I wanted to share it here again as I often get asked how I store my markers.
This is how I store my solvent based markers, using an Acrylic Partition Desk Tidy from Muji. Several advantages. One of them is that you can store two ways: horizontal, perfect for one person, or upright for sharing.
The other main advantage is that you can store a couple -maybe more- on top of each other like above.


Monday 9 August 2010

Workshops Up North


Just wanted to let you know that this coming weekend I will be teaching at Dawn Bibby's Design Studio.

On Saturday I will do two sessions, in the morning an all new mini album with interactive features, and on the afternoon a repeat of the little Making Memories 4 x 4 " mini album, back by popular demand.

You can book by calling direct to the shop, 01254 353501.
I always strongly recommend to bring to a workshop a basic tool kit -pencil, eraser, metal edge ruler, craft knife, scissors- and a 12" long trimmer. It will make the workshop more enjoyable for yourself. But if you don't have one or can't bring it don't worry too much.


Computer stuff

Lately I have been doing a bit of clearing out in my computer. You know, being an amateur photographer eats a lot of hard drive space. I mean you end up saving several copies of photos which are quite large, so my computer started to not much space left. Because it is such a draining job, I haven't been very creative for the last ten days.

However, things changed a bit last Thursday when I had to do some prep work for last Saturday's demo at The Craft Barn. Unfortunately, I didn't take any photos of the finished cards I did - silly me! But I found some cards on my hard drive that I don't think I have shared.


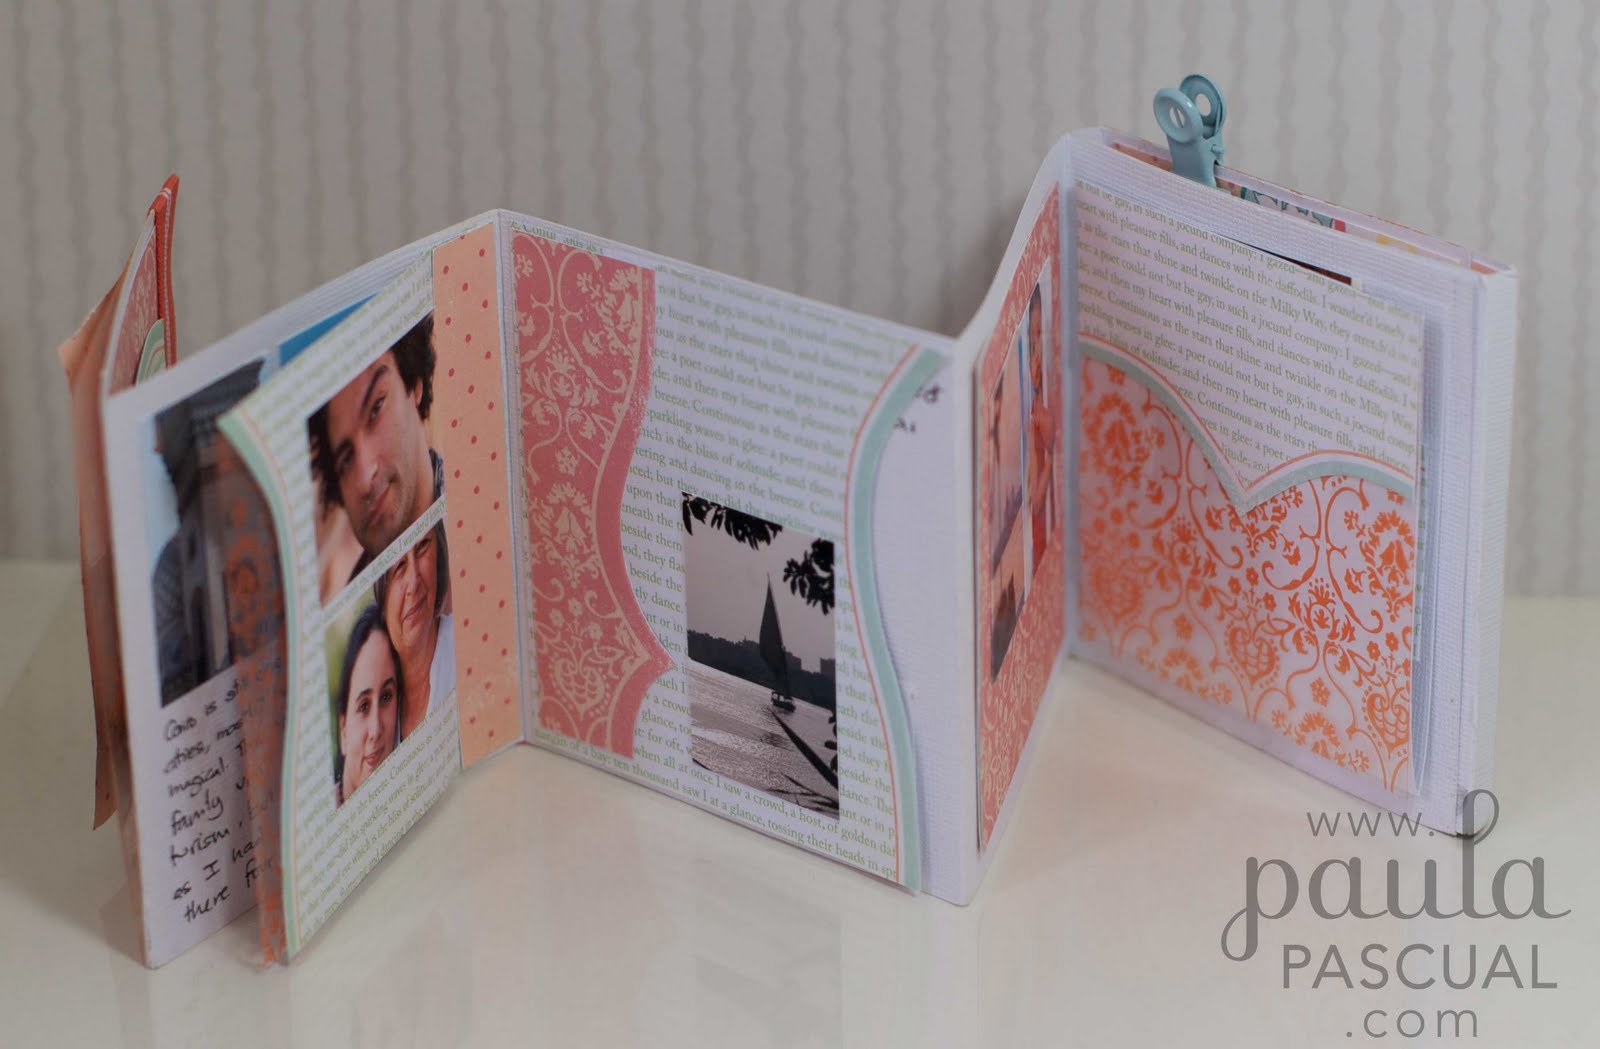
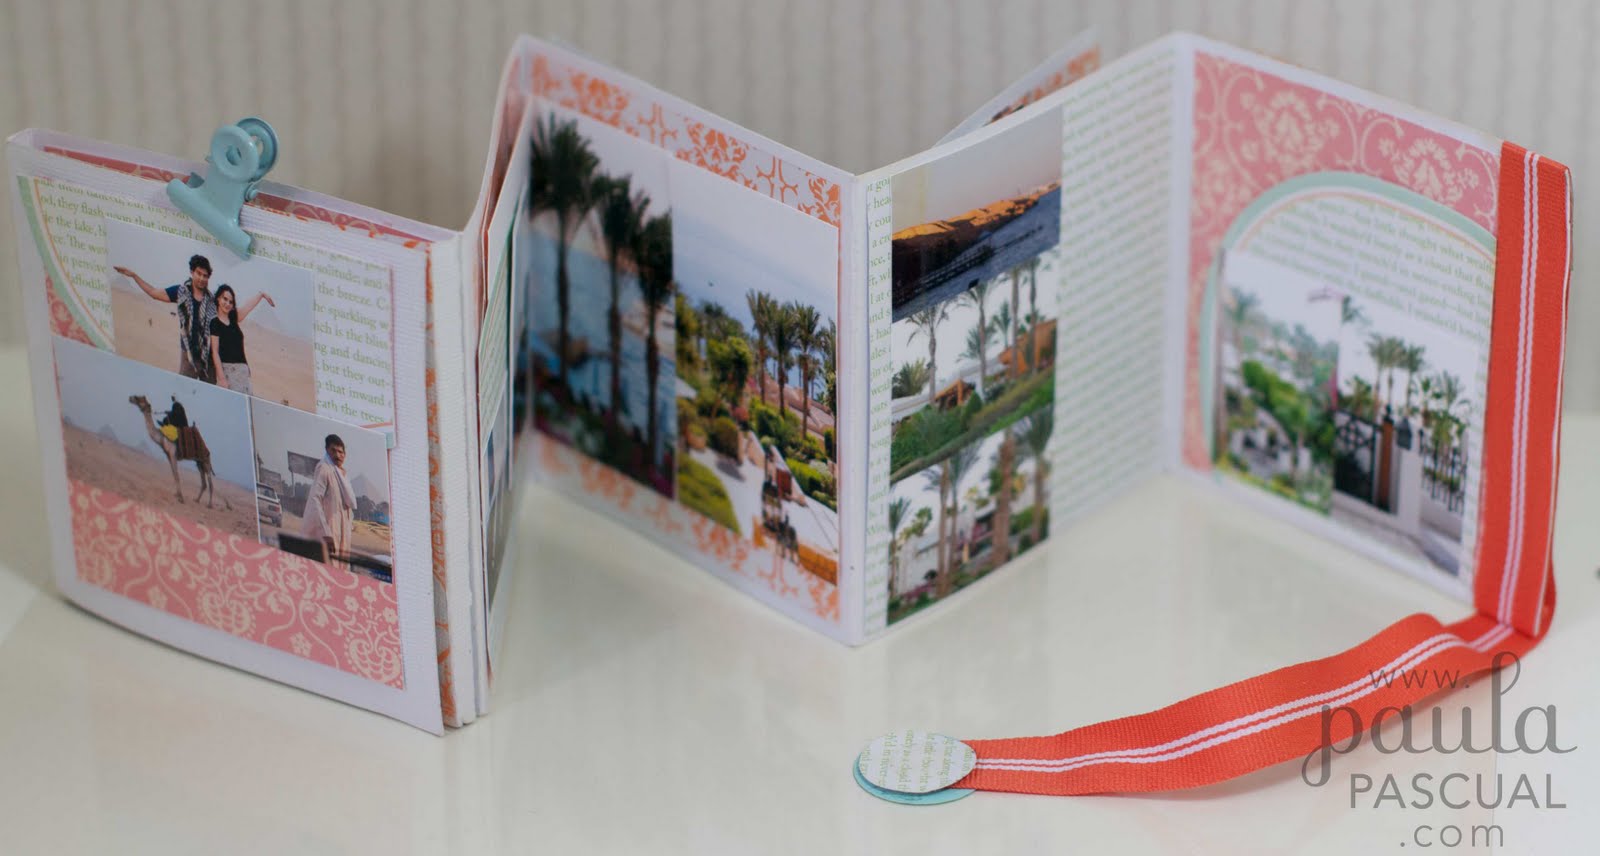
This one was part of an article for Cardmaking and Papercraft. I used Origins Basic Grey Collection.

By the way, some of you may have noticed some ads in this page. Well, finally I have listened to my voice of reason -ie my husband- and realized that I spend many hours making and updating this blog and I need to start getting some sort of income back from it. At the beginning I was against the idea until I realized that all my favorite blogs had ads and as a reader that didn't bother me at all. I really hope it doesn't bother you all, and remember with google ads means that if you just click on them I get paid, no need to buy anything, so if you can click here and there it will make a difference to me.
(Oh, how I hate to write this!)


Friday 6 August 2010

Tomorrow's demo

Tomorrow I will be demonstrating at The Craft Barn different techniques that involve the embossing folders, including the Patchwork Technique. So come along if you can't wait till next issue of Cardmaking and Papercraft.

Wednesday 4 August 2010

New stamps!!!!

The images of my new stamp sets for Personal Impressions have been released [the first seven sets of page five], Available from the first week of September! So exited! As soon as I get them I will introduce them properly here.


By the way, the All Year Round set will be available from Craft shops from September. until now it was exclusive to QVC.

A quick one


Yes another masculine quick and easy card. The patterned paper is from Oliver collection -Basic Grey and the film strip is a Sizzlit long die from the Tim Holtz collection. The inside of the film strip is a perfect fit for the Big Sentiments.

Monday 2 August 2010

Soft and pretty


Another card on the series of pretty and soft like the card I did for Julie and a couple of days ago. I really I am enjoying the soft and pretty look.
For the message, I stamped first the Happy Circle from All Year Round, then I stamped using the same ink -Memento Desert Sand- the monogram using a stamp from the Shadow Monograms set in the centre. On top I used a message from the All Year Round.
I used a 1 1/2"scallop circle punch.

The blank card was made using of tag die from Sizzix, thethe Tag Ornate die. The flowers and leaves are also from Sizzix, all available from The Glitter Pot.

Sunday 1 August 2010

Another Ferro Cards


This time I run the card with the ferro dried on through the Big Shot using a Star die. Then I peeled the ferro of the card and attached it to the card.


The panel is another Patchwork piece. The message is one from the Double Sayings set.
Related Posts Plugin for WordPress, Blogger...